Anyways, yesterday and today were my two weekday gaming nights, so not a lot had been accomplished between them. But I did learn the results of the painting competition I was in! Drumroll, please.
...
That would probably work better with an audio track... Anyways, I took second place in the competition, falling behind the winner by only one vote! Thank you for everyone who came in and voted for my piece - I am bound and determined to improve for my next competition piece:

OK, it's not as dynamic as the last one, but I'm going to go all out on this one - glowing runes on the helm, some hard-to-clean rust on the polearm, and a much cleaner model than the last one (there were some pieces that I really should have cleaned better that were rather glaring when it came time to paint the model). But I have cleaned the model properly this time - only the painting awaits!
Once that's done and in, I have the results for the next big figure. After talking it over with my friends, the winner is...

Nethyrmaul.
This is going to be a beast of a figure to paint, but I feel it will be well worth the effort to bring it to life (so to speak). Expect to see a lot of him over the next few weeks.
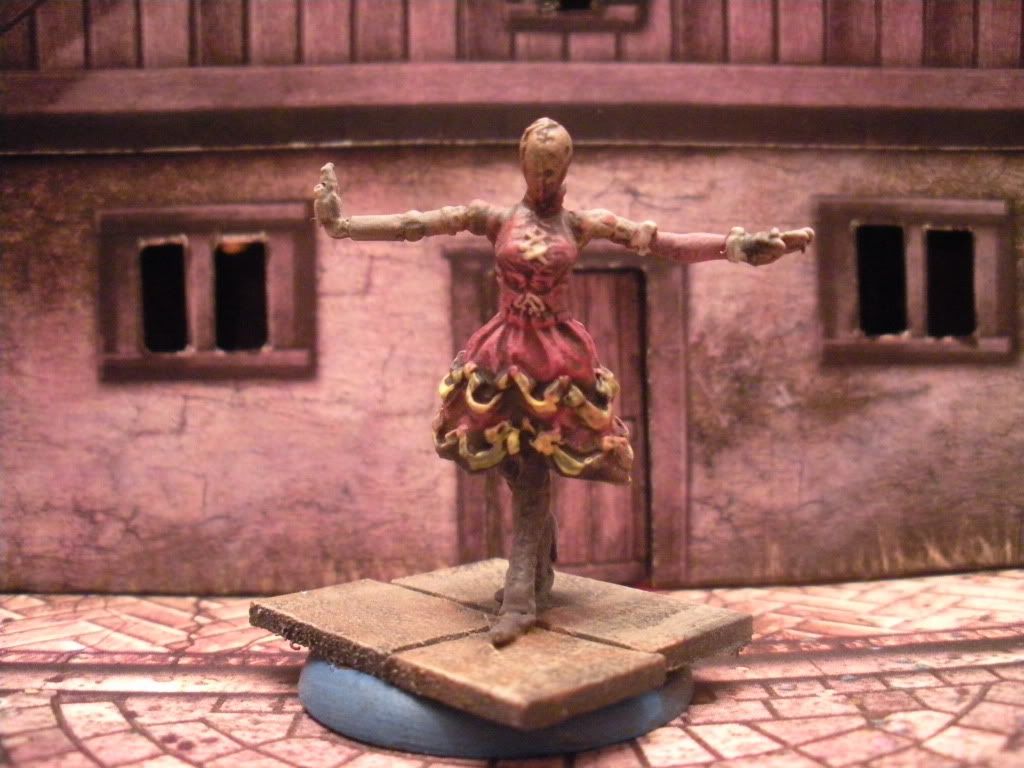
Finally, continuing on with the theme of bases, let's talk about sculpting your own base. This can be anything from carving and gluing on a few balsa sticks to form a wooden stage:
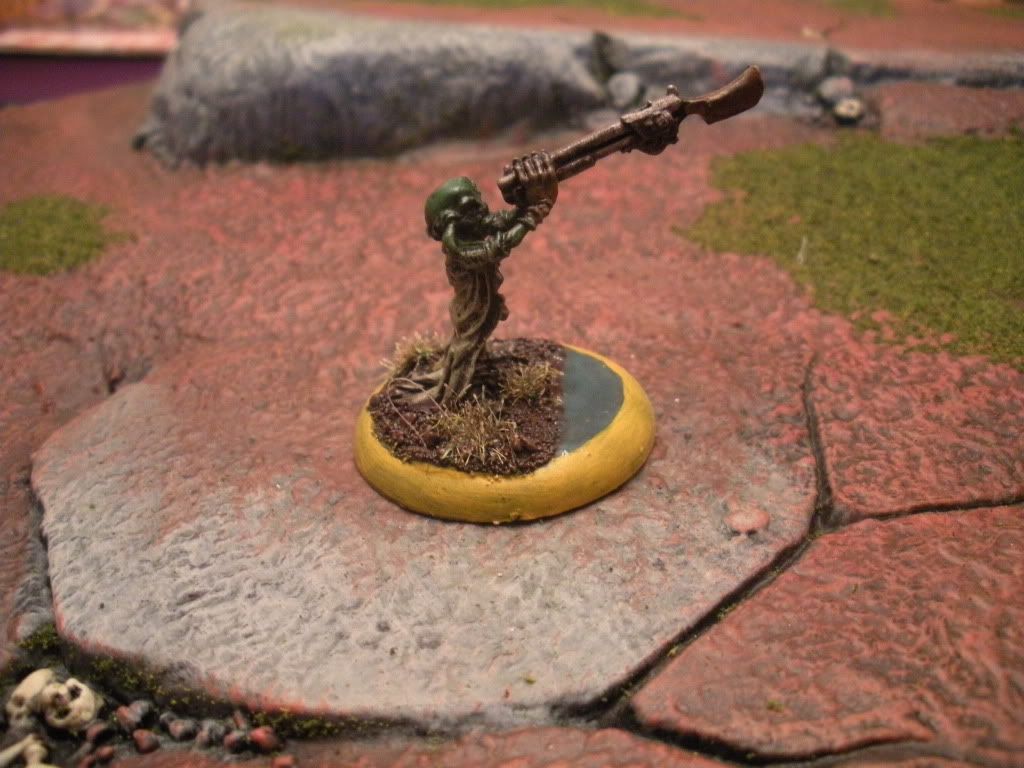
To adding a bit of a rise in the middle of a swampy landscape:
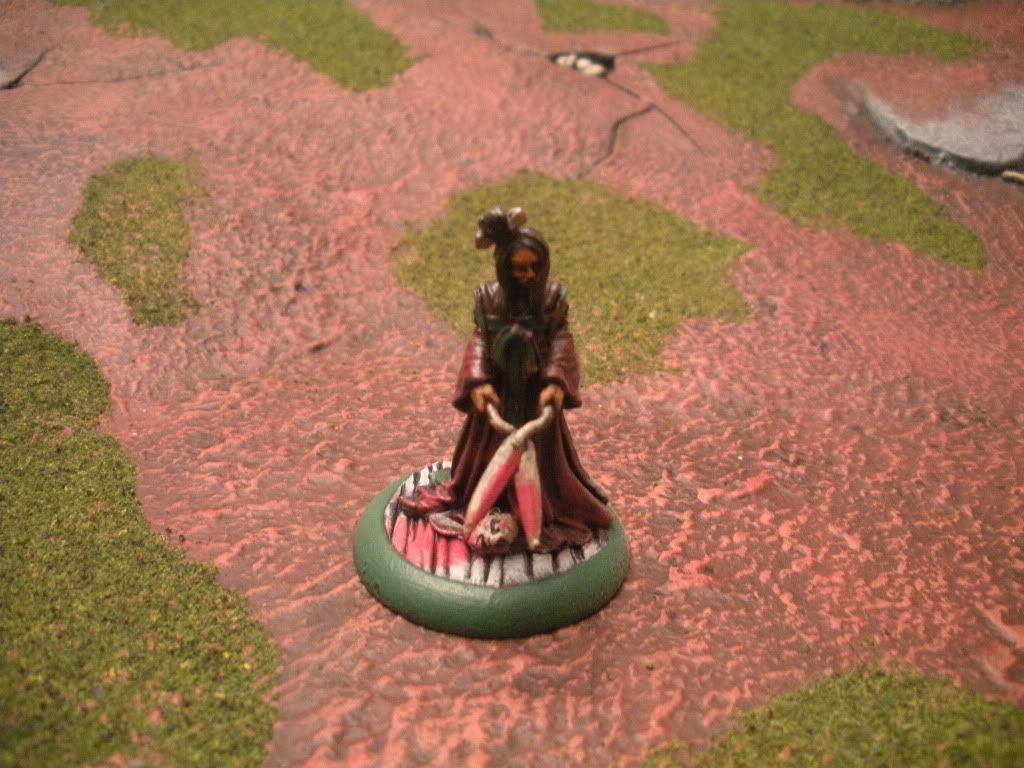
Or adding on the sort of texture that you could get from a pre-sculpted base:
In most cases, this will involve the use of Greenstuff (or other constructable material), and sculpting tools to shape the base into the shape you want. I usually stick to patterns that don't stick far up from the base, and it's a matter of applying the Greenstuff (a two-part epoxy made for modelling miniatures) and shaping it into the design you want. With effort, this can be a truly breathtaking display - but it is not easy to reach those heights.
You can, however, reach much simpler results like what you see above with just a little effort and planning, and this can really bring out a figure in a truly unique way.
That's all from me tonight. Tomorrow, I'll hopefully have the Mousling painted up and ready to go with my other figures, and will talk about my favorite sealing technique - a method I found online called the Bullet technique (and, boy, can it stand up to a good bit of punishment).
No comments:
Post a Comment